I have run Enhance as the production control panel for a couple of agency-style portfolios since early 2024, and it is the panel I keep recommending whenever a client outgrows a single cPanel box but is not ready to live in raw Docker for the next decade. This post is the install pattern I actually ship, plus the things the official walkthrough does not warn you about.
The Enhance control panel installation is a guided experience: spin up the panel server, run their installer, then provision the additional roles (web, database, backup) and join them in. The pieces that take longer than the docs suggest are the network choices around the panel, the Cloudflare configuration in front, and the backup volume gotcha that has caught me twice. The official video walkthrough on enhance.com is still worth watching for the click-through; what follows is the operator’s perspective on top.
When Enhance is worth the operational tax
Enhance is not the right control panel for a one-server hobby setup. The whole architecture assumes you will eventually have at least three or four roles running on separate machines: a panel server, one or more web servers, a database server, and a backup server. Run all four on a single VM to evaluate, sure. Run them on a single VM in production and you are paying the complexity tax of a multi-server panel without getting any of the benefits.
The point at which Enhance starts paying for itself is roughly when you hit 30 to 50 active websites, or when you cross from one region to two. Below that, CyberPanel on a single hardened VPS is simpler and cheaper to run, and the LiteSpeed integration handles WordPress at small scale well. Above that, the multi-server isolation model and the per-website pricing on Enhance start to beat cPanel licences, especially if you bill clients per site rather than per server.
The specific scenarios where I reach for Enhance by default: an agency consolidating 40-plus client sites that have outgrown a shared cPanel host, a reseller who wants white-labelled hosting with their own pricing tiers, or a small hosting company that wants the cPanel feature set without the cPanel licence trajectory.
What you need before you start
Enhance’s minimum is 4 GB RAM and 40 GB disk on Ubuntu 22.04 LTS for the panel role. In practice I provision the panel server at 8 GB RAM with 80 GB of disk on a Hetzner CX32 or equivalent, because the panel does meaningful database work itself and the extra headroom costs about 5 euros a month.
Per-role sizing I have settled on for a 50-site portfolio:
| Role | VM size | RAM | Disk | Notes |
|---|---|---|---|---|
| Panel | CX32 | 8 GB | 80 GB | Add a second one only if you cross 200 sites. |
| Web | CX42 | 16 GB | 160 GB | One per region, scale horizontally. |
| Database | CX32 | 8 GB | 80 GB SSD | RAM matters more than CPU. |
| Backup | CX22 + volume | 4 GB | 100 GB OS + 500 GB volume | Cheap CPU, lots of storage. |
Other prerequisites: a hardened Ubuntu 22.04 image on every server (the baseline from my Linux server security fundamentals post, with CrowdSec on the public surfaces), DNS on a provider that supports API-driven Let’s Encrypt challenges (Cloudflare is the default), and a cloud project where firewall rules can be set at the cloud level, not just on the OS. Cloud-level firewalls are what stop scanner traffic from ever touching the stack; do that design before you run the installer.
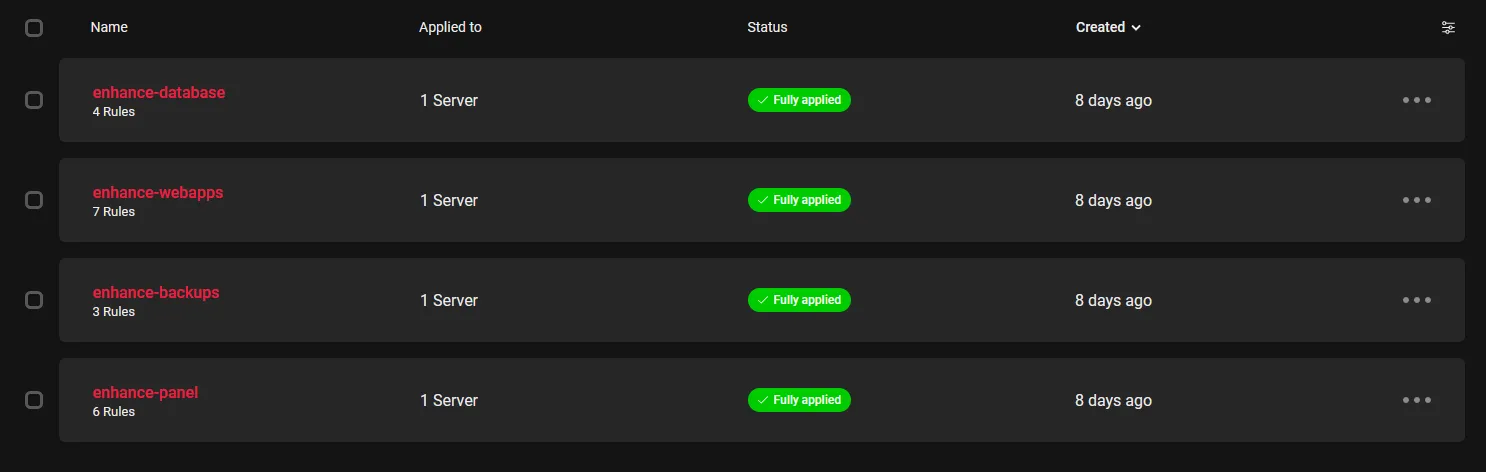
Per-server firewall profiles in the Hetzner console. Each Enhance role gets its own profile: the panel allows inbound 80, 443, and the management ports from your office IP only; the web servers only accept traffic from the panel and from Cloudflare’s IP ranges.
Running the Enhance installer
Enhance is a closed-source commercial product with its own automated installer rather than a Docker Compose stack. You run their bootstrap script on the panel server, register your licence, and then the panel orchestrates the join process for the other roles.
The high-level flow:
- Provision the panel server, harden it, and confirm DNS for
panel.yourdomain.comresolves to it. - Run the Enhance installer on the panel. It pulls down the panel software, sets up the local database, and walks you through the initial admin account.
- Log in to the panel UI, click through to add a web role, then SSH into the web VM and run the join command the panel hands you. Same pattern for the database role and the backup role.
- Configure the licence and the per-customer plans inside the panel before you import a single site.
I am deliberately not pasting bootstrap commands here: Enhance updates the installer URL frequently, and a stale curl | sh from a 2024 blog post is exactly the wrong thing to copy in 2026. Their official docs at https://enhance.com/docs have the current command. Check the version string before you run it.
What the official walkthrough glosses over is the order of operations between the cloud firewall and the installer. If your cloud firewall blocks everything except SSH from your IP, the installer succeeds but the panel UI is unreachable until you open 80 and 443 to Cloudflare or to your own IP. I lost about 20 minutes the first time I ran this because I assumed the installer would tell me. It does not.
Cloudflare in front of the panel
I put every production Enhance panel behind Cloudflare. The free tier is enough; the WAF and Bot Fight Mode are the actual reasons.
Two configuration steps that matter:
Page rules and SSL mode
Set the SSL mode for the panel hostname to Full (strict). Enhance generates a valid Let’s Encrypt certificate on the panel, so Full (strict) works out of the box. Do not use Flexible: it terminates TLS at Cloudflare and proxies plain HTTP to the panel, which means session cookies travel unencrypted. Easy to fix later, embarrassing to ship.
Add a page rule for panel.yourdomain.com/* that forces HTTPS, enables HSTS at the origin, and disables caching on the panel paths. The panel UI is largely dynamic and caching it produces half-stale dashboards.
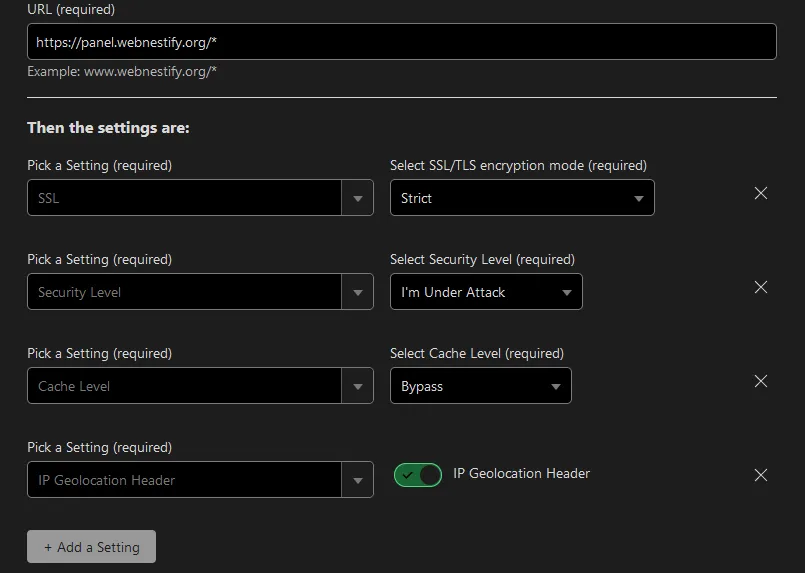
Cloudflare page rules for the Enhance panel hostname. The “Cache Level: Bypass” rule is the one I forget on every fresh deploy, then spend ten minutes working out why my settings changes are not showing up.
Whitelist the panel-stack IPs
This is the one that bites every new Enhance operator I have onboarded. Cloudflare’s default WAF and Bot Fight Mode will challenge traffic from your own panel server when it talks to its child web nodes through their public hostnames. The symptom: sites silently failing to provision, certificates not renewing, and the panel showing healthy roles that are actually dead inside.
Go to Security → WAF → Tools in Cloudflare and add an IP allow-list rule for every IP in your Enhance stack: panel, web servers, database server, backup server. Keep this list updated whenever you add a new role.
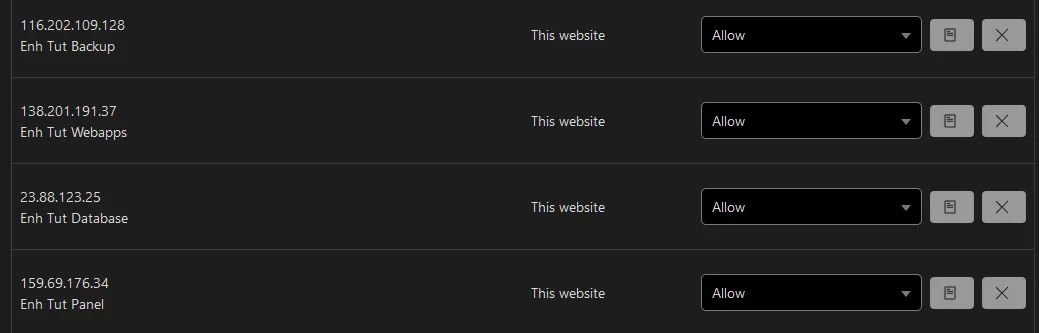
The WAF Tools IP allow-list. The four entries here correspond to the four roles in the stack. If you add a fifth web server next month, this list is the first place the new IP needs to land.
To lock the panel UI down further, layer a Cloudflare Access policy on panel.yourdomain.com that requires authentication through your existing identity provider. For a small agency I would skip this and rely on the Enhance built-in 2FA; for anything with more than two operators, Cloudflare Access plus Authentik or your existing SSO is the better answer.
The backup volume gotcha
This is the single biggest landmine I have hit with Enhance, and the reason I am writing this post at all rather than just linking the official docs.
When you provision the backup server, you attach a separate block volume to it for backup storage. The Hetzner cloud console (and most other providers) will offer to automatically mount the volume at boot. Do not do this.
Enhance’s backup-role installer expects an unmounted, unpartitioned block device. It detects the device, partitions it, formats it, mounts it at the correct path, and writes the fstab entry. If you have already pre-mounted through the provider’s helper script, the join either fails outright or, worse, succeeds but writes backups to the wrong path on the OS disk that nobody is monitoring.
The right pattern: create the backup VM with the OS disk only, attach the backup volume without ticking auto-mount, verify the device exists (/dev/sdb or similar) and is not in /etc/fstab, then run the Enhance backup-role join. It will handle the disk from there. If you have already pre-mounted, undo it first: unmount, remove the fstab entry, optionally wipefs -a /dev/sdb, then run the join. I have had to do this twice on machines I inherited from clients.
One more thing worth knowing: the Enhance backup format is incremental, deduplicated, and proprietary. You cannot rsync the backup volume to a third location and call it disaster recovery. For off-site backups, point the panel’s own remote-target configuration at S3-compatible storage, or schedule a restic job that snapshots the backup volume at the block-device level. Treat Enhance backups as primary; add a secondary off-site pipe yourself.
Site placement, isolation, and the bits that actually matter at scale
Once the four roles are joined, the day-two work is placement rules and resource quotas. Two settings worth changing before you import a single site:
Default website placement in Settings → Servers controls how new sites get distributed across web nodes. The default is round-robin by load, which is fine until one web server picks up a noisy neighbour. Switch to least-utilised so new placements actively avoid hotspots.
Resource quotas per plan under Plans caps CPU, memory, and disk per website at the container level. Set these on day one. The default plan has no limits, and a single misbehaving WordPress plugin will happily eat the whole VM if you let it. I run roughly 1 CPU core and 1 GB of RAM as the default per-site cap, then bump specific sites that genuinely need more.
Website containerisation in Enhance is real isolation, not a chroot. A compromised PHP execution on one site cannot read another site’s files, connect to another site’s database, or exhaust the web node’s resources. That is the headline feature compared to a flat cPanel host, and the reason I sleep better with a portfolio of agency clients on Enhance than I did on the cPanel-shared host I ran in 2022.
What I do not bother with
A few things in the broader Enhance ecosystem I have left out of my standard rollout:
- The Enhance email server role. Works, but I would rather run Mailcow on a separate dedicated mail VM and point Enhance at it via SMTP relay. Bundling deliverability into the hosting panel makes both jobs harder.
- Cloudflare Tunnel for the panel. Tempting on paper. In practice the panel needs stable, low-latency access from every web and database node, and tunnelling adds latency plus one more thing that breaks at 3am.
- Auto-scaling web nodes. Enhance does smart placement of new sites onto existing nodes, not elastic VM scaling. If you need that, you are past the point where a control panel is the right architecture.
Verifying the deployment before you trust it
Before you migrate a single client site, run this sanity check:
- Provision a throwaway domain and a fresh WordPress site through the panel.
- Trigger a manual backup of that site. Confirm it appears on the backup server with the expected size.
- Delete the site. Restore from the backup. Confirm the database and uploads come back intact.
- Reboot every server in the stack one at a time. Confirm the panel survives, sites stay reachable, and the backup role rejoins cleanly.
- Stop a non-panel VM at the cloud console (do not delete it). Confirm the panel surfaces the role as offline and the affected sites as degraded. Bring it back. Confirm the panel reconciles.
Step 5 is the one that catches misconfigured firewall rules. The first Enhance deployment I ran did not survive a panel reboot because I had restricted the database server’s inbound rules to a previous panel IP and forgotten to update them after a snapshot restore. Found that out by losing a Saturday morning.
Closing the loop
The Enhance control panel installation rewards patience on the network and storage layers and punishes shortcuts on either. If you take one thing from this post, take the backup-volume warning: do not pre-mount, let the installer do it. If you take two, also take the Cloudflare WAF whitelist: the panel-stack IPs need to be on it before you go to bed.
For a small agency with a settled portfolio, Enhance has been my reliable answer to “we have outgrown one cPanel box but we do not want to run our own Kubernetes”. For a single hobby server, it is overkill, and CyberPanel or a hand-rolled Portainer plus Nginx Proxy Manager stack will serve you better. The honest line between the two is roughly the 30-site mark, plus or minus your tolerance for operational complexity. The next reads, if you are building out the rest of the agency stack: the Mailcow email server post for separating mail from hosting, the Uptime Kuma post for monitoring that does not pretend the panel is the only thing worth watching, and the rest of the cloud infrastructure archive.